Apocalypse
New member
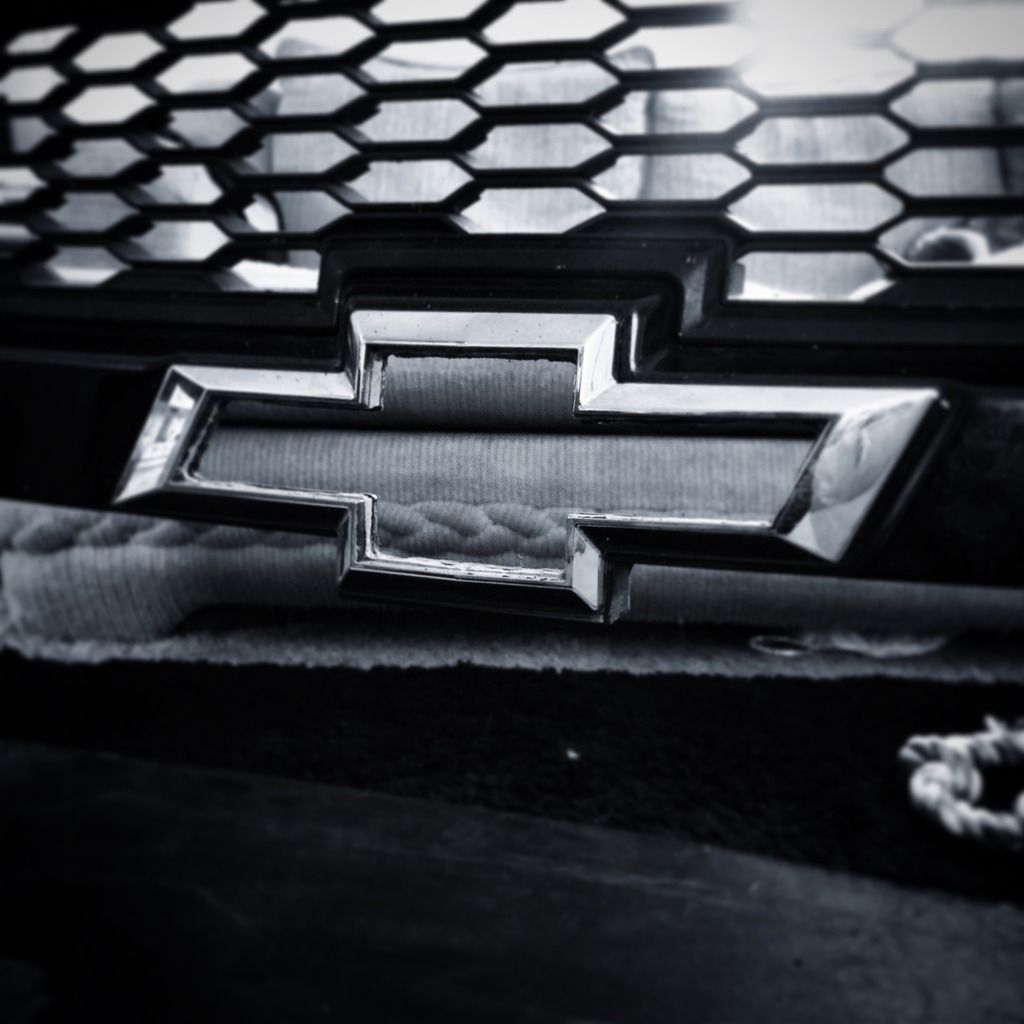
On the 2015 chevy z28 camaro, they fitted a unique front bumper emblem called a Flowtie, to improve air flow. I went ahead and made one for my sonic RS. I did not do it for the "improved air flow threw the front bumper" as they did for the camaro but strictly for looks!
Tools needed:
Dremalish like tool with fancy attachments
A thesaurus to learn new swear words after you run out
A bucket of patients, so you do not cut things that don't need to be cut
3m double sided mounting tape
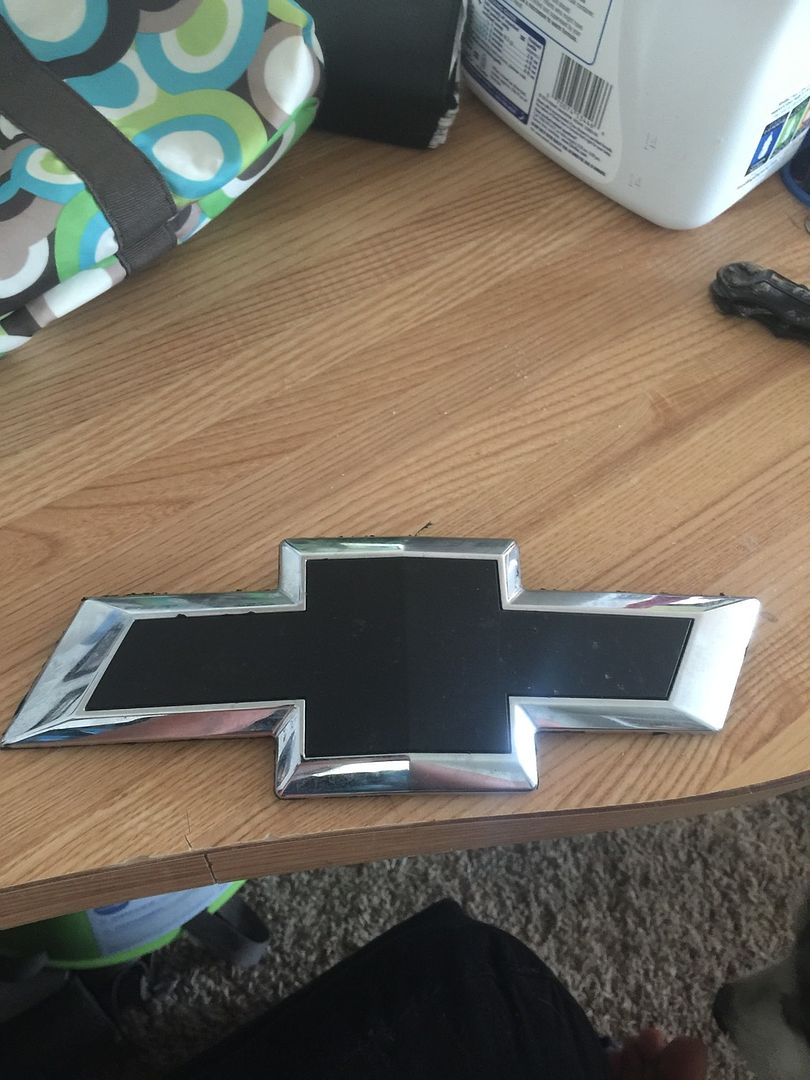
Step 1: Remove your front emblem. Two screws and a ton of double sided tape. I got lucky because the shop that repaired my front bumper from an accident, only put on the double sided tape!
Step 2: (if needed) Remove plasti dip the prevent gumming up your dremal.
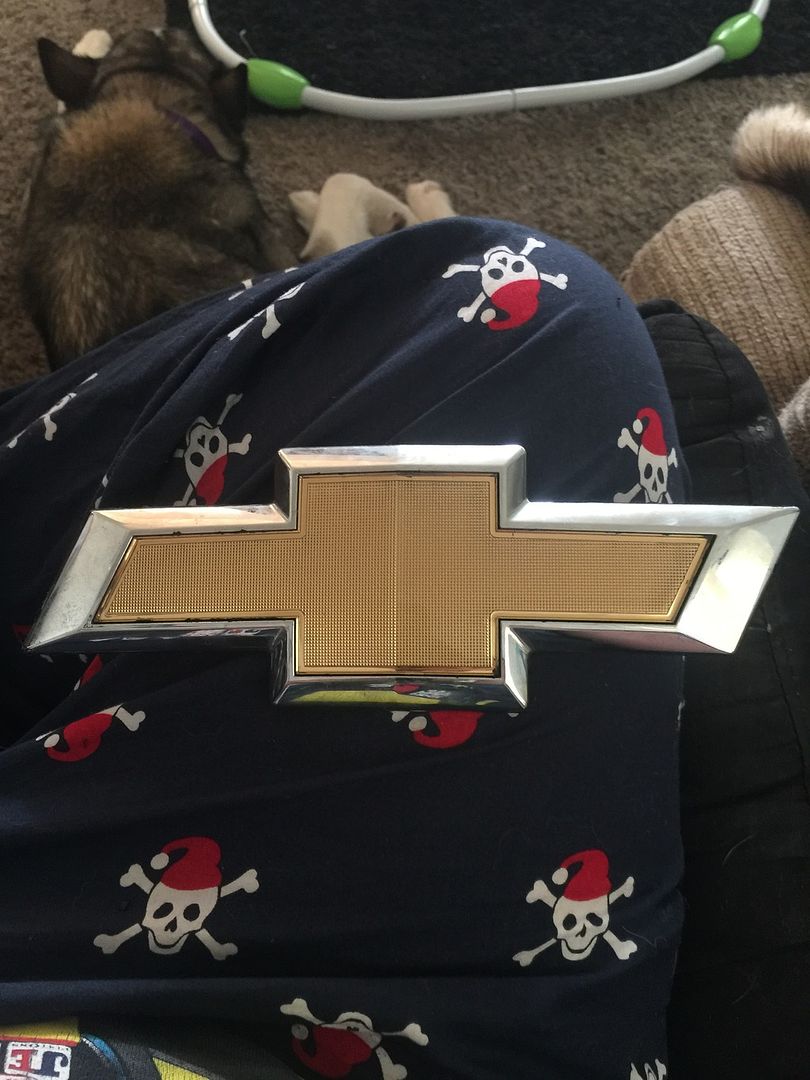
Step 3: Remove the yellow part of the emblem, it is also held on with double sided tape. I used two razor knifes to pry it up and slowly bend the yellow part back.

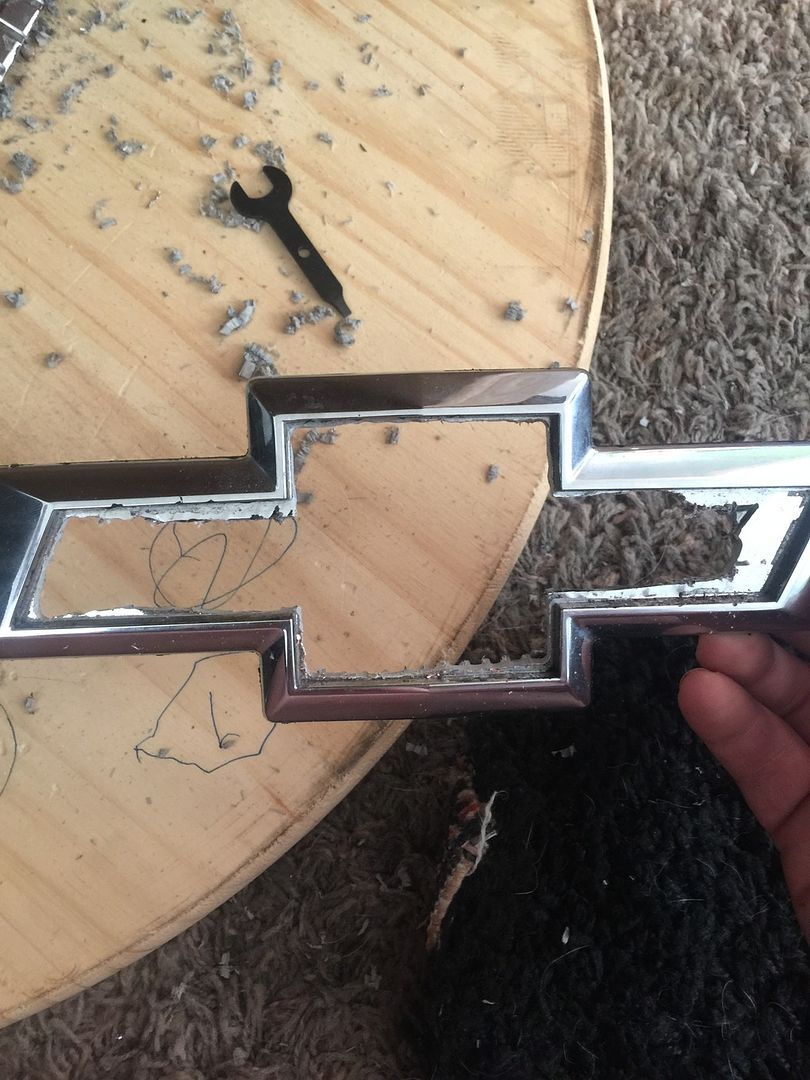
Step 4: Using a cutting wheel attachment, cut out a large section of the emblem to be able to fit a sanding wheel or a die cutter into the center.
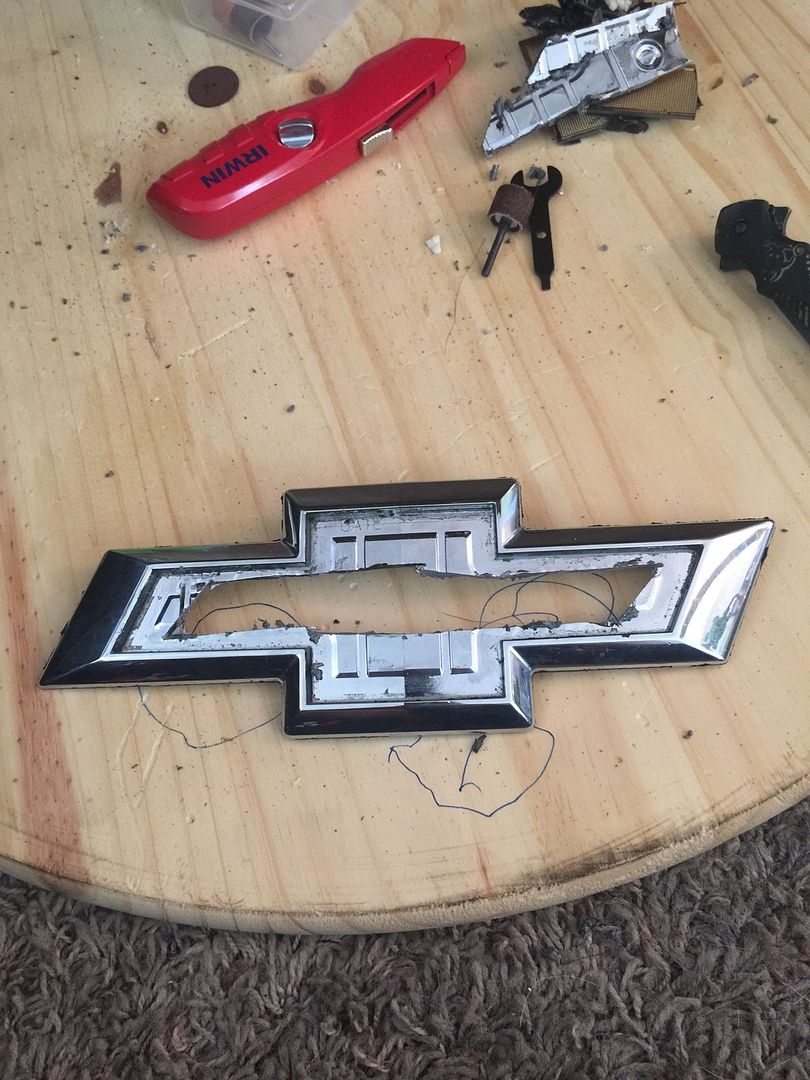
Step 5: Using your more comfortabley preferred way of cutting the center to the outer enge, cut the center out to the outer edge!
Closer!
Even closer! Careful!!
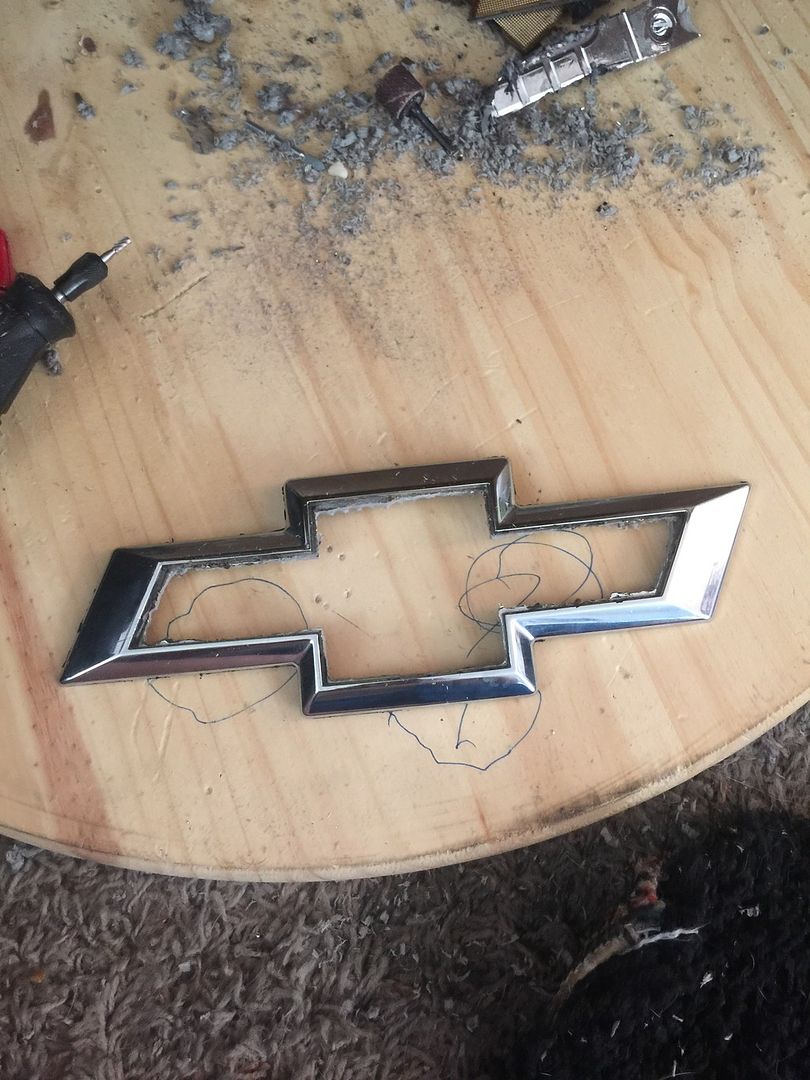
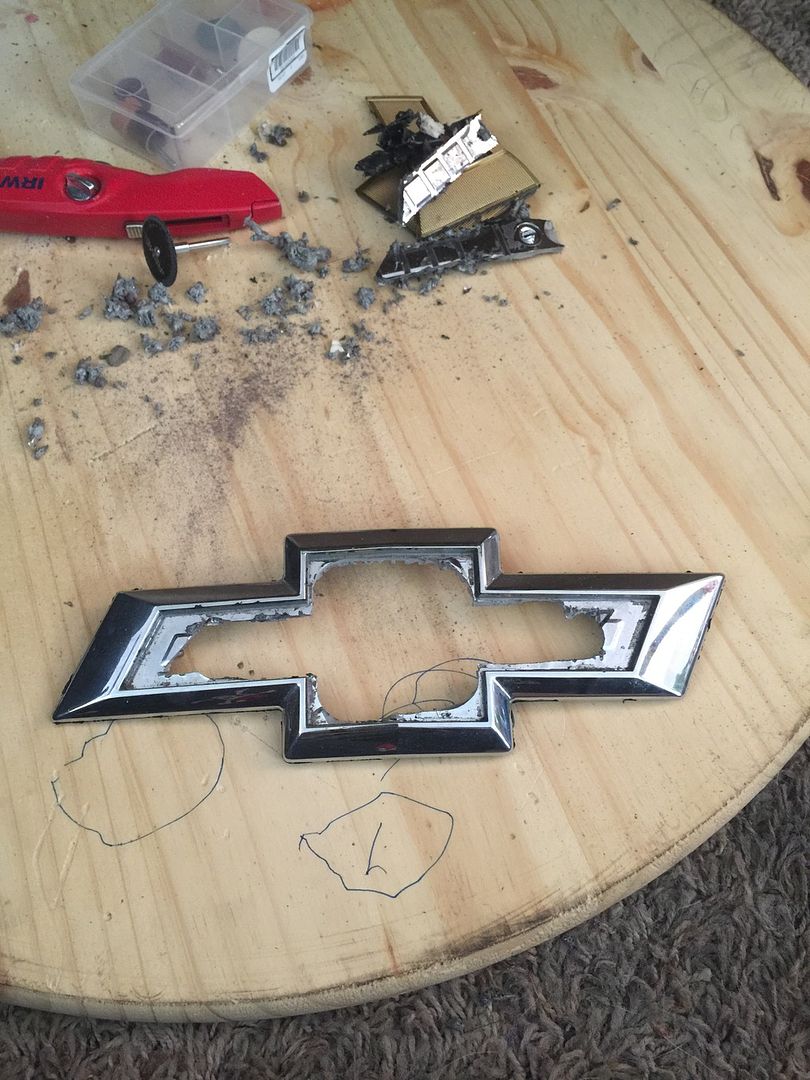
Step 6: Using the green sanding wheel, file your edges smooth and even.
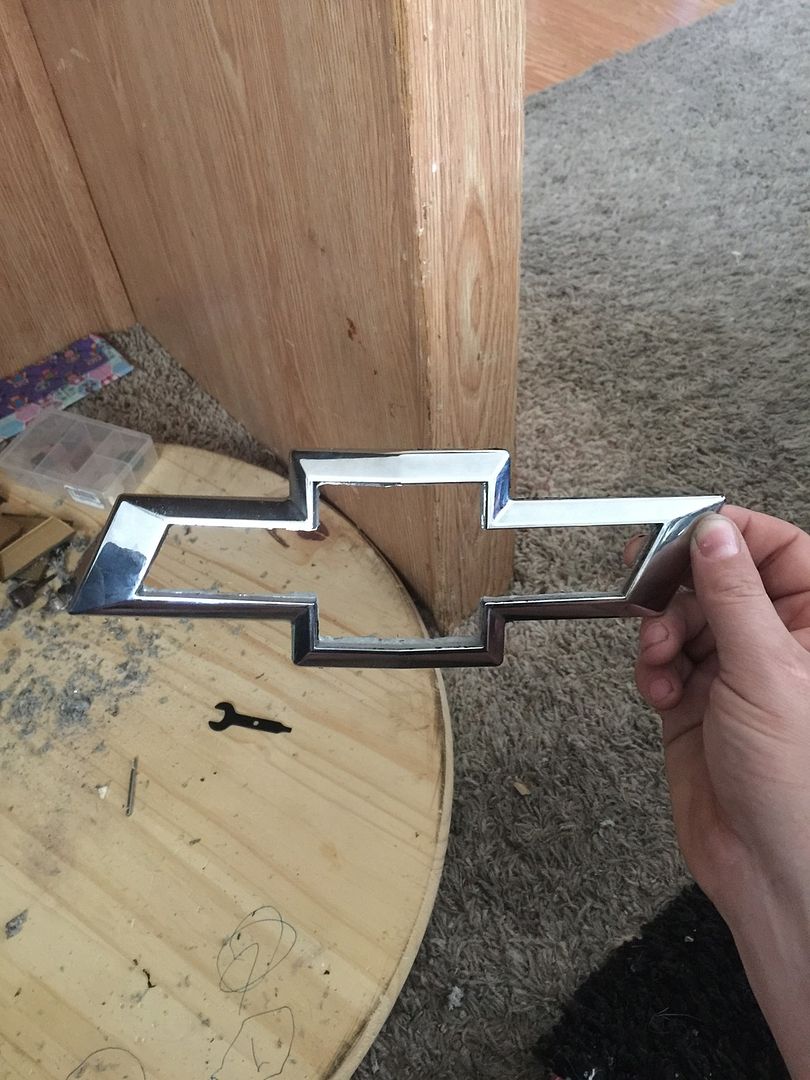
Step 7: Mount your fancy new hotness back onto the bumper using 3m double sided emblem tape.
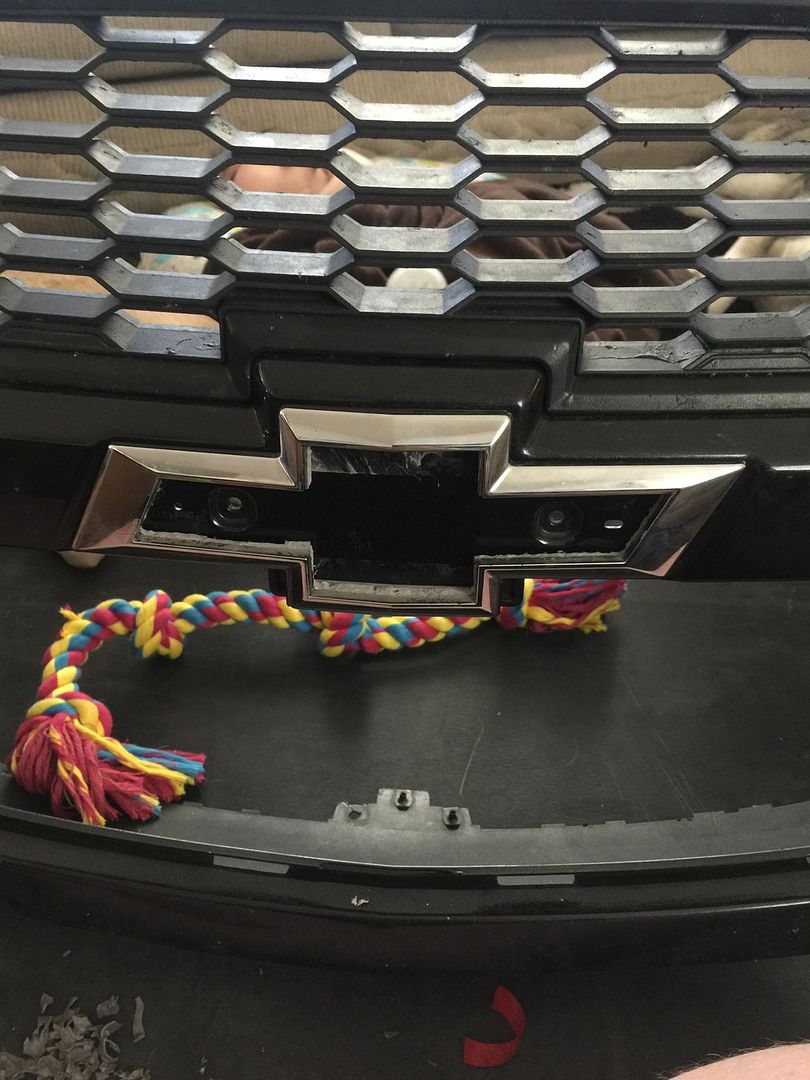
Step 8: Using the same method of cutting and grinding used on the emblem, cut the hole the same size as the inner part of the emblem.

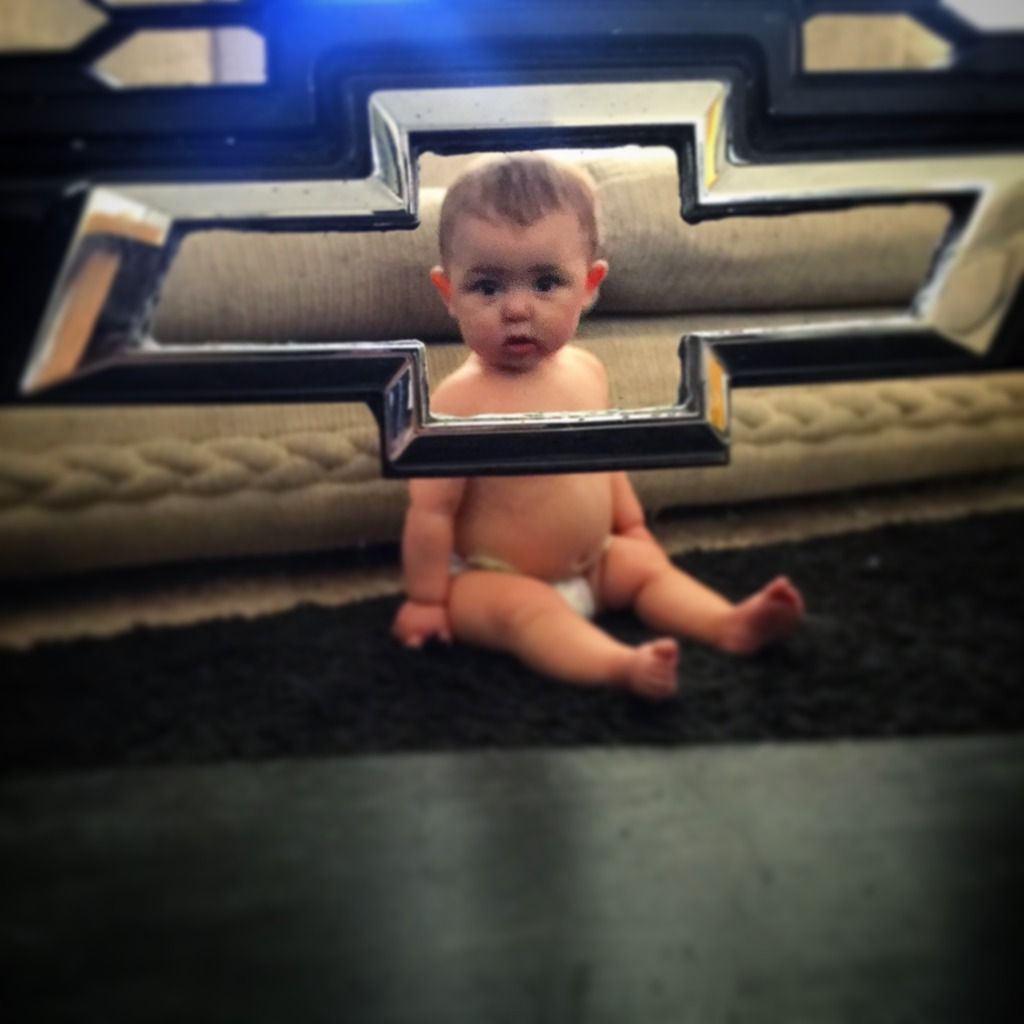
Step 9: Fine tune and smooth all cuts, step back and rejoice and bask in the glory of your now flowing emblem.
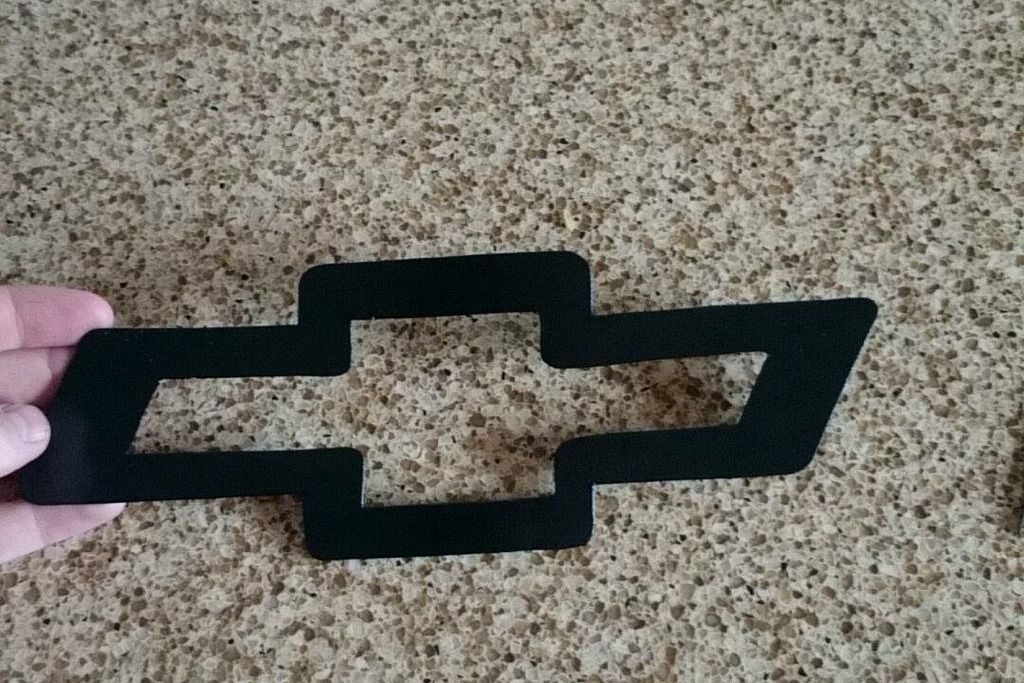
Optional Addition: I made a 1/16th inch sheet metal copy of my Flowtie and I'm having it powder coated.
Tools needed:
Dremalish like tool with fancy attachments
A thesaurus to learn new swear words after you run out
A bucket of patients, so you do not cut things that don't need to be cut
3m double sided mounting tape
Step 1: Remove your front emblem. Two screws and a ton of double sided tape. I got lucky because the shop that repaired my front bumper from an accident, only put on the double sided tape!

Step 2: (if needed) Remove plasti dip the prevent gumming up your dremal.

Step 3: Remove the yellow part of the emblem, it is also held on with double sided tape. I used two razor knifes to pry it up and slowly bend the yellow part back.

Step 4: Using a cutting wheel attachment, cut out a large section of the emblem to be able to fit a sanding wheel or a die cutter into the center.

Step 5: Using your more comfortabley preferred way of cutting the center to the outer enge, cut the center out to the outer edge!

Closer!

Even closer! Careful!!

Step 6: Using the green sanding wheel, file your edges smooth and even.

Step 7: Mount your fancy new hotness back onto the bumper using 3m double sided emblem tape.

Step 8: Using the same method of cutting and grinding used on the emblem, cut the hole the same size as the inner part of the emblem.

Step 9: Fine tune and smooth all cuts, step back and rejoice and bask in the glory of your now flowing emblem.


Optional Addition: I made a 1/16th inch sheet metal copy of my Flowtie and I'm having it powder coated.


